What is EPDM Rubber Roofing?
First off, EPDM stands for Ethylene Propylene Diene Monomer. That’s a mouthful, but don’t worry—it’s just a fancy way of saying rubber roof. This type of roofing is super popular because it’s strong, lasts a long time, and isn’t too hard to put on your roof. Plus, it’s really good at keeping water out, which is super important for any roof!
Tools and Materials Needed
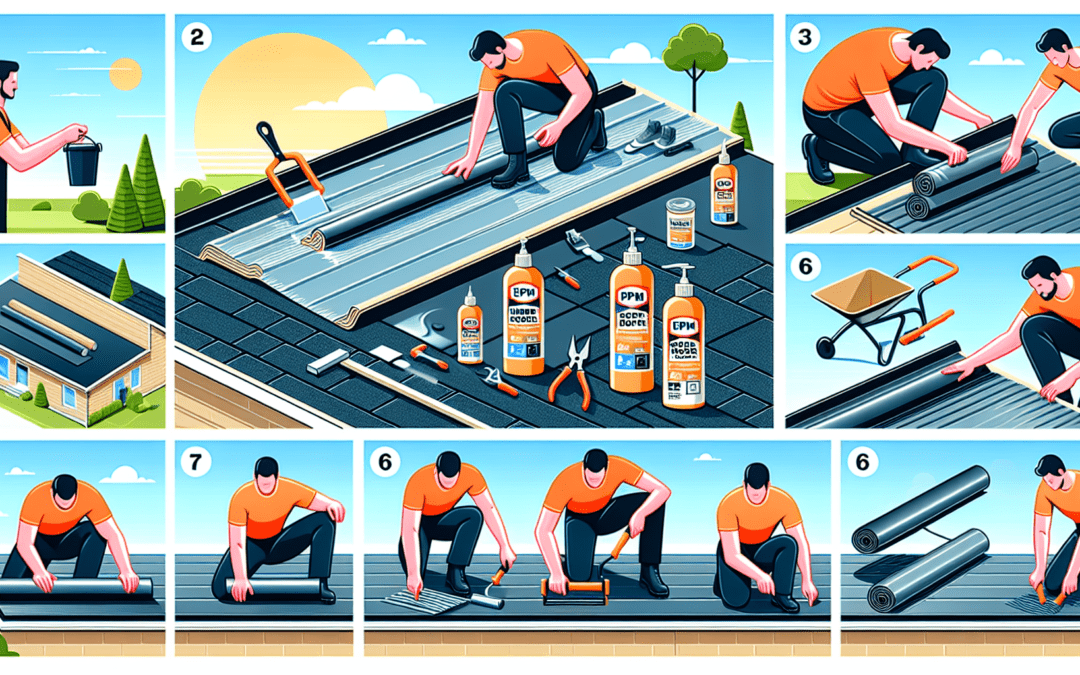
Before we start, make sure you have the right tools and materials. You’re going to need:
- EPDM rubber sheets (the main part of your new roof)
- Adhesive (to stick it to your roof)
- A utility knife (for cutting the rubber to fit)
- Clean rags and a broom (for cleaning your roof)
- A roller (to make sure the EPDM sticks well)
Remember, safety first! Always use gloves and protective eyewear.
Preparing Your Roof
The first step is to make sure your roof is ready. You’ll need to clean it up real good. Use the broom to sweep off any dirt or leaves, and if you find any sharp or pointy bits sticking out, you’ve got to get rid of them so they don’t poke holes in your new rubber roof.
Applying the Adhesive
Now, it’s time to glue down your EPDM. Spread the adhesive on the roof where the EPDM will go. You don’t want too much glue, just a thin layer. Check the instructions on the adhesive to see how long it needs to dry. Sometimes, you stick the EPDM on while it’s still wet, and other times, you have to wait a bit.
Installing the EPDM Rubber
Next, carefully lay the EPDM sheet on the area you applied the adhesive to. Try not to let it fold or wrinkle. Smooth it out with your hands first, and then use the roller to press it down really well. This helps make sure there are no bubbles and that the EPDM sticks perfectly to the roof.
Cutting and Trimming
There’s a good chance your EPDM sheet is bigger than you need. That’s okay! Just use the utility knife to cut it to fit your roof. Be careful, though. You want a nice, smooth edge and no raggedy bits.
Finishing Touches
Once your EPDM is down and looking good, go over the edges one more time with the roller. Make sure it’s super secure. And that’s pretty much it! You’ve now got a rubber roof that’s going to keep water out and last a long time.
Care and Maintenance
Even though EPDM roofing is really tough, you still need to look after it. A couple of times a year, check your roof for any damage or areas where water might sneak in. And always keep it clean from leaves and other stuff that might fall on it.
Wrap-Up
Installing EPDM rubber roofing might seem like a big job, but with the right preparation and care, you can definitely do it! Just remember to work safely, follow the steps, and take your time. A well-installed rubber roof is a great investment that will protect your home for years to come.

