How to Apply Rubber Roof Coating Like a Pro
If you want to keep your roof in top shape, applying a rubber roof coating is a smart move. It not only protects your roof from leaks but also extends its life. Don’t worry if you’ve never done it before. This guide will help you apply rubber roof coating like a pro, step by step. So, let’s get started!
1. Pick the Right Day
Timing is everything! Choose a day that is dry and warm but not too hot. If it’s too cold, the coating won’t stick properly. And if it’s raining, well, it’s a no-go. A day with a temperature between 50°F to 70°F is perfect.
2. Get Your Roof Ready
The first step is to clean your roof really well. You want to remove any dirt, leaves, or other stuff that shouldn’t be there. Use a broom or a blower for this. For tougher grime, a pressure washer can do the trick. Just make sure your roof dries completely before the next step.
3. Fix Any Damage
Inspect your roof for any cracks or holes. If you find any, you need to fix them before applying the coating. You can use a roof patch or sealant for small repairs. For bigger issues, it might be best to ask for help from a professional.
4. Apply Primer (If Needed)
Some roofs might need a primer before the coating. The primer helps the coating stick better. Check the instructions on your rubber roof coating to see if this is necessary. If it is, apply the primer evenly and let it dry completely.
5. Mix the Coating
Now, it’s time to get your coating ready. Mix it well to make sure it’s smooth and ready to apply. Sometimes, sitting in the can might make it settle or separate, so mixing is essential.
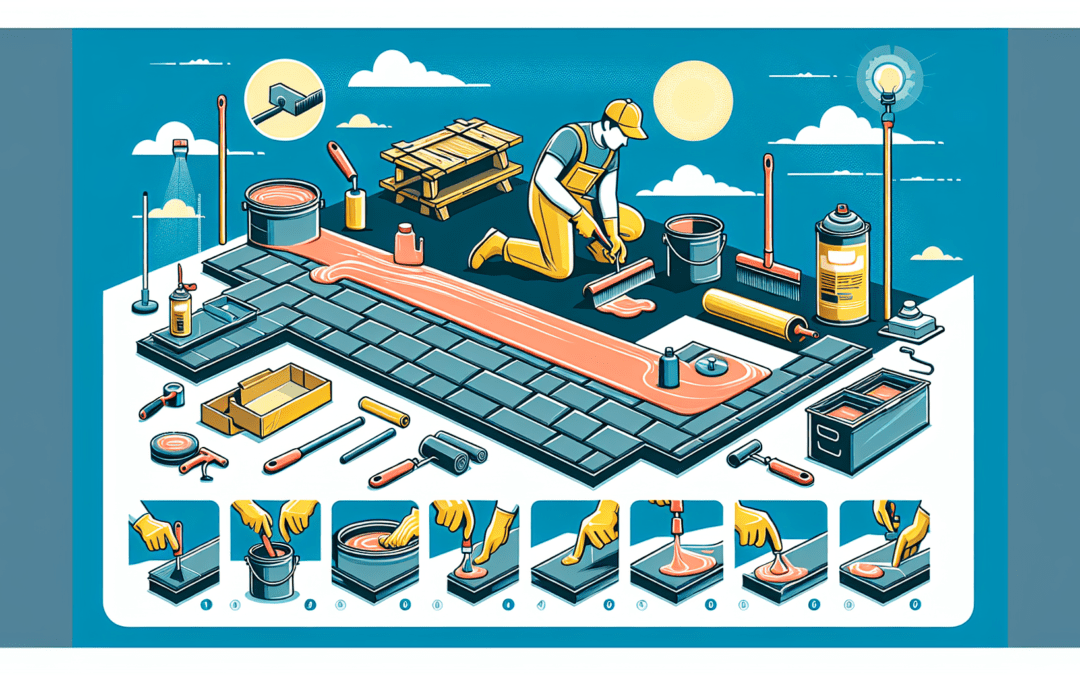
6. Apply the Coating
You can use a roller or a brush to apply the coating. Start from one end and work your way to the other. Make sure to spread it evenly. You don’t want some spots to have too much coating and others not enough. Pay extra attention to seams and edges because that’s where leaks like to start.
7. Let It Dry
Once you’ve covered the whole roof, let the coating dry. The drying time can vary based on the weather, so check the instructions. You might need to apply a second coat, but only do this after the first one is completely dry.
Tips for Success
– Always follow the instructions on the product label.
– Wear protective clothing and gloves to keep the coating off your skin.
– Work in small sections to ensure an even application.
– Don’t rush. Take your time to get it right.
There you have it! Applying rubber roof coating might seem like a big job, but with these steps, you can do it successfully. Not only will your roof look great, but it will also be more protected from the elements. So, grab your supplies, pick the perfect day, and give your roof the care it deserves!