If you’re living in Virginia or planning to build a home there, picking the right roofing material is a big deal. With Virginia’s weather swinging from sunny days to rainy nights, you need something strong and lasting for your roof. This is where concrete roof tiles come into the picture! They might just be the durable choice you are looking for. Let’s dive into why concrete roof tiles are worth considering for homes in Virginia.
What Are Concrete Roof Tiles?
First things first, let’s talk about what concrete roof tiles actually are. These tiles are made by mixing cement, sand, and water. The mixture is then molded under high pressure and heat, creating tough tiles to cover roofs. They come in various shapes and colors, so you can pick something that matches your home’s style. Plus, they look pretty cool!
Why Are They a Good Choice for Virginia?
Virginia’s weather can be a bit of a rollercoaster, with hot summers, cold winters, and storms in between. This is why you need a roof that can handle anything. Here’s why concrete roof tiles stand out.
Durable: Concrete roof tiles are super tough. They can last for more than 50 years with proper care. They can stand up to heavy rain, strong winds, and even hail. This means you won’t have to worry about your roof every time it storms.
Energy Efficient: These tiles can help keep your house cooler in the summer by reflecting sunlight instead of absorbing it. This means your air conditioning won’t have to work as hard, saving you money on energy bills.
Low Maintenance: Once installed, concrete roof tiles require very little upkeep. You just need to keep an eye out for broken tiles and replace them as needed.
Fire Resistant: Concrete tiles are non-combustible, making them an excellent choice for fire safety. This is especially important in areas prone to wildfires or for safety-conscious homeowners.
Things to Consider
While concrete roof tiles have a lot of perks, there are a few things to keep in mind. They are heavier than some other roofing materials, so you’ll need to make sure your home can support the weight. Also, installation can be a bit more complex, which might mean higher upfront costs. But remember, this is a long-term investment in your home’s safety and durability.
Conclusion
In conclusion, concrete roof tiles are a fantastic choice for Virginia homes. They offer durability, energy efficiency, low maintenance, and safety, all in one package. Plus, with a variety of designs and colors available, they can add a beautiful touch to your home’s appearance. If you’re building a new home or thinking about replacing your roof, consider giving concrete roof tiles a serious look. They might just be the perfect fit for your Virginia home.
Roof replacement is a significant home improvement project that not only ensures your safety and comfort but also enhances the value and appeal of your property. Knowing the steps involved in the process can help homeowners manage their expectations, make informed decisions, and ensure a smooth and successful project execution. This detailed guide aims to navigate homeowners through each phase of roof replacement, from initial consideration to the completion of the project.
Assessment and Decision Making
The first step in the roof replacement process involves assessing the condition of your current roof. Several signs indicate the need for a new roof, including but not limited to, significant leaks, extensive damage to shingles or tiles, and an aged roof beyond repair. Consulting with a professional roofer for an inspection can provide you with an expert opinion on whether a repair might suffice or if a full replacement is necessary. These assessments typically consider the age of your roof, the extent of damage, and whether your roof can withstand future weather conditions.
Choosing the Right Roofing Material
Once the decision is made to replace the roof, the next step involves selecting the appropriate material. Homeowners have numerous options ranging from asphalt shingles, metal, tile, slate, and more, each with its pros and cons, including variability in durability, appearance, and cost. The climate of the area, your home’s architectural style, and budget are critical factors influencing the choice of roofing material.
Finding a Qualified Contractor
Finding the right contractor is critical for a successful roof replacement project. Seek out licensed, insured, and reputable professionals with ample experience in installing your chosen roofing material. Obtain multiple quotes to compare prices, but also consider the quality of work, communication skills, and reviews from previous clients. It’s important to discuss and fully understand the warranty offered on both materials and labor.
Understanding the Cost
The cost of roof replacement varies widely depending on the roofing material, the size of your roof, and the complexity of the job. Your contractor should provide a detailed quote covering the cost of materials, labor, permits, and waste disposal among other potential expenses. Unforeseen costs can arise, so it’s wise to budget for additional expenses beyond the initial estimate.
Preparing for the Project
Preparation for roof replacement begins with setting a realistic timeline with your contractor. Roof replacement can disrupt daily life, so knowing the timeframe helps manage your schedule and prepare your household. It’s prudent to secure valuables, cover belongings in the attic, and inform neighbors about the project due to potential noise and debris. Additionally, ensure the contractor discusses site preparation, including the placement of dumpsters and protection for your property.
During the Replacement
Throughout the roof replacement, your chosen contractor will remove the existing roof, make necessary repairs to the underlying structure, and install the new roofing material. This process can take several days to a week or more, depending on the size of the roof and complexity of the job. Homeowners should expect noise, vibrations, and a significant amount of debris during this phase. Effective communication with your contractor is crucial to address any issues promptly as they arise.
Post-Installation Inspection and Maintenance
Following the completion of your new roof, insist on a thorough inspection conducted by the contractor to ensure the work meets all agreed-upon standards. It’s also an excellent time to discuss proper roof maintenance to extend the life of your new roof. Reliable contractors will provide detailed guidelines on caring for your roof and be available for future maintenance and inspections.
Conclusion
Roof replacement is a considerable but essential investment in your home. By understanding each step of the process, from initial assessment to post-installation maintenance, homeowners can confidently navigate through the project. Choosing the right materials, finding a qualified contractor, and preparing properly can significantly influence the success of your roof replacement project, ensuring years of protection and added value to your home.
Concrete roof tiles are a popular choice for homes because they are durable, strong, and can look really nice. Just like picking out a new game or phone, knowing what makes a good concrete roof tile is important. Here, we’ll talk about the key things to look for when choosing concrete roof tiles for a house.
1. Weight
Concrete roof tiles are heavier than other types of roofing, like metal or asphalt shingles. Before choosing them, it’s important to make sure the house’s structure can support the weight. The weight of concrete roof tiles can vary, but knowing how much they weigh will help ensure the house is safe and secure.
2. Color and Style
Just like how we choose the color and style of our clothes, we can pick the color and style of our roof tiles too. Concrete tiles come in a variety of colors and shapes, such as flat, curved, or wavy, so you can pick the perfect look to match your home. It’s also key to remember that the color might fade a bit over time because of the sun.
3. Durability
One of the best things about concrete roof tiles is that they’re really strong. They can last a long time, sometimes more than 50 years, if they’re taken care of properly. They can stand up to heavy rain, wind, and even fire, which makes them a great choice for keeping your home safe.
4. Porosity
Porosity might sound complicated, but it’s just a fancy word for how much water a tile can soak up. Tiles with high porosity can absorb a lot of water, which isn’t great because it can lead to mold or damage in really rainy places. On the other hand, tiles with low porosity are better at keeping water out.
5. Energy Efficiency
Concrete roof tiles can also help keep your home cooler in the summer and warmer in the winter. This is because they’re good at insulating, or keeping the temperature inside your home steady. Choosing tiles that keep your home more comfortable can also help save money on heating and cooling bills.
6. Maintenance
Maintenance means keeping the roof tiles in good shape over time. Fortunately, concrete tiles don’t need a lot of upkeep. Occasionally, you might need to replace broken tiles or clean them to get rid of dirt or algae. Knowing what maintenance is needed can help you keep your roof looking nice for a long time.
In conclusion, when picking concrete roof tiles, think about their weight, color and style, durability, porosity, energy efficiency, and maintenance needs. Choosing the right tiles can make your home look great and ensure it stays safe and comfortable for years to come.
Introduction to Selecting the Right Roofing Company
Choosing the best roofing company is crucial when you need roof installation, repair, or replacement. The roof is one of the most vital components of your home, protecting you from adverse weather and enhancing your home’s energy efficiency and aesthetics. However, with so many companies offering roofing services, it can be challenging to discern the reputable providers from those less reliable. Below are essential tips and considerations to guide you through selecting a top-notch roofing company.
Understanding Your Roofing Needs
Before reaching out to a roofing company, it is important to understand the specifics of your roofing needs. Are you looking for repair services due to a leak or damage? Or do you need a complete roof replacement? Some companies specialize in certain types of roofing materials or solutions. For instance, if you are interested in installing an eco-friendly green roof, look for companies with experience and certifications in that area. Understanding your needs will help you in selecting a specialist who is well-suited to accomplish your project effectively.
Initiating Initial Contact
Make your initial contact with potential roofing companies count by observing how they handle your inquiry. A professional roofing company should be able to provide comprehensive information, offer a consultation, and outline the way they manage projects. Their communication style and professionalism at this stage often reflect the quality of service you can expect later on.
Key Factors to Consider When Choosing a Roofing Company
Experience and Local Expertise
A seasoned roofing company typically has a solid track record of quality and service. Experienced professionals are familiar with local building codes, climate considerations, and the necessary paperwork. Local expertise is particularly crucial as these companies are more accessible and can respond promptly to any future needs or emergencies.
License and Insurance
Always verify that the roofing company you consider hiring is licensed and insured. This includes workers’ compensation and liability insurance, protecting you from any legal or financial responsibilities in the event of accidents or damage to your property during the project. Licensing, on the other hand, shows the company meets the specific industry standards and qualifications.
Credentials and Certifications
Reputable roofing companies often possess various credentials like certifications from roofing material manufacturers or associations such as the National Roofing Contractors Association (NRCA). These endorsements signify that they follow best practices and maintain high standards in their work.
Customer Reviews and Testimonials
Reading through reviews and testimonials provides insight into the company’s reliability and quality of work. Look for consistency in customer satisfaction across platforms such as the company’s website, social media, and third-party review sites like Yelp or Google Reviews.
Warranty Offers
An essential factor to consider is the warranty. Reputable firms often provide a manufacturer’s warranty on materials and a separate warranty on labor. Ensure that you understand what is covered under each and the duration of the warranty. A robust warranty serves as a testament to the quality of work and materials used.
Getting the Best Value
While cost is a significant factor, it should not be the sole criterion for choosing a roofing company. Extremely low bids can sometimes indicate substandard materials or workmanship. Instead, focus on the value—balancing cost with the quality of service and materials. Request detailed quotes from several companies to compare prices and understand what each package includes. This way, you can make an informed decision that doesn’t compromise on quality.
Finalizing Your Choice
Once you’ve assessed all the factors, you might have a shortlist of potential companies. It’s a good practice to visit a current job site or view a recently completed project, if possible. This enables you to gauge firsthand how the company operates and speaks directly with clients about their experiences. Finally, before signing any contracts, ensure all terms, conditions, and expectations are clearly outlined and understood.
Conclusion
Selecting the right roofing company is significant for ensuring the longevity and performance of your roof. By thorough vetting potential companies based on their experience, credentials, customer feedback, and warranty provisions, you can make a well-informed decision. Remember that choosing a company that offers a balance between cost, reliability, and quality workmanship will lead to a successful roofing project and peace of mind for years to come.
If you want to keep your roof in top shape, applying a rubber roof coating is a smart move. It not only protects your roof from leaks but also extends its life. Don’t worry if you’ve never done it before. This guide will help you apply rubber roof coating like a pro, step by step. So, let’s get started!
1. Pick the Right Day
Timing is everything! Choose a day that is dry and warm but not too hot. If it’s too cold, the coating won’t stick properly. And if it’s raining, well, it’s a no-go. A day with a temperature between 50°F to 70°F is perfect.
2. Get Your Roof Ready
The first step is to clean your roof really well. You want to remove any dirt, leaves, or other stuff that shouldn’t be there. Use a broom or a blower for this. For tougher grime, a pressure washer can do the trick. Just make sure your roof dries completely before the next step.
3. Fix Any Damage
Inspect your roof for any cracks or holes. If you find any, you need to fix them before applying the coating. You can use a roof patch or sealant for small repairs. For bigger issues, it might be best to ask for help from a professional.
4. Apply Primer (If Needed)
Some roofs might need a primer before the coating. The primer helps the coating stick better. Check the instructions on your rubber roof coating to see if this is necessary. If it is, apply the primer evenly and let it dry completely.
5. Mix the Coating
Now, it’s time to get your coating ready. Mix it well to make sure it’s smooth and ready to apply. Sometimes, sitting in the can might make it settle or separate, so mixing is essential.
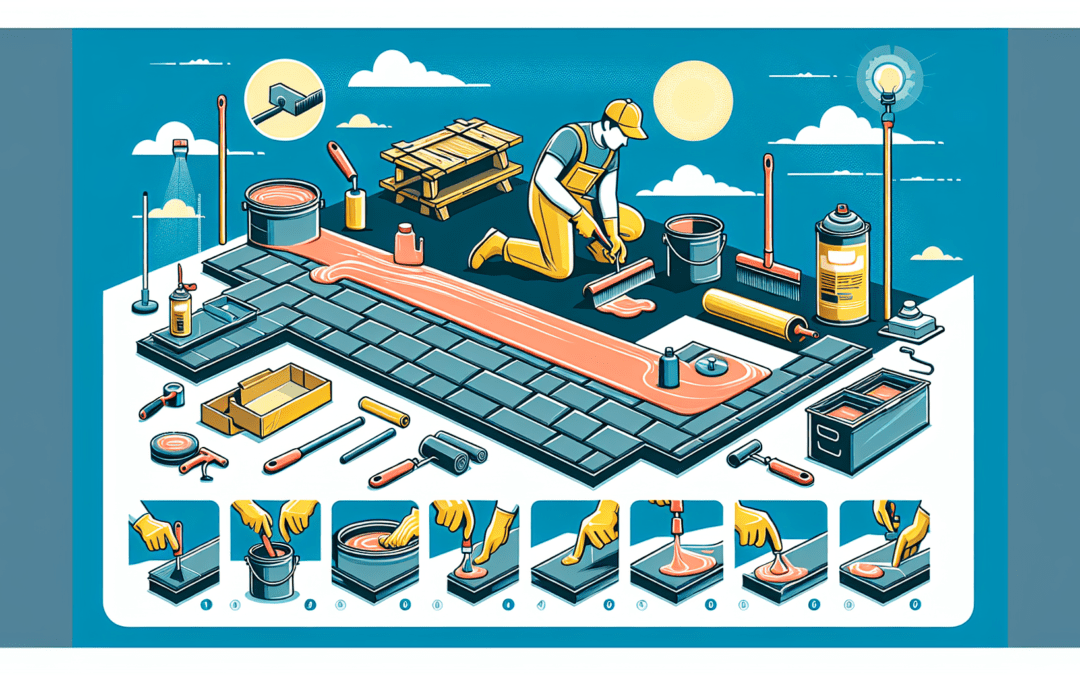
6. Apply the Coating
You can use a roller or a brush to apply the coating. Start from one end and work your way to the other. Make sure to spread it evenly. You don’t want some spots to have too much coating and others not enough. Pay extra attention to seams and edges because that’s where leaks like to start.
7. Let It Dry
Once you’ve covered the whole roof, let the coating dry. The drying time can vary based on the weather, so check the instructions. You might need to apply a second coat, but only do this after the first one is completely dry.
Tips for Success
– Always follow the instructions on the product label.
– Wear protective clothing and gloves to keep the coating off your skin.
– Work in small sections to ensure an even application.
– Don’t rush. Take your time to get it right.
There you have it! Applying rubber roof coating might seem like a big job, but with these steps, you can do it successfully. Not only will your roof look great, but it will also be more protected from the elements. So, grab your supplies, pick the perfect day, and give your roof the care it deserves!
First off, EPDM stands for Ethylene Propylene Diene Monomer. That’s a mouthful, but don’t worry—it’s just a fancy way of saying rubber roof. This type of roofing is super popular because it’s strong, lasts a long time, and isn’t too hard to put on your roof. Plus, it’s really good at keeping water out, which is super important for any roof!
Tools and Materials Needed
Before we start, make sure you have the right tools and materials. You’re going to need:
EPDM rubber sheets (the main part of your new roof)
Adhesive (to stick it to your roof)
A utility knife (for cutting the rubber to fit)
Clean rags and a broom (for cleaning your roof)
A roller (to make sure the EPDM sticks well)
Remember, safety first! Always use gloves and protective eyewear.
Preparing Your Roof
The first step is to make sure your roof is ready. You’ll need to clean it up real good. Use the broom to sweep off any dirt or leaves, and if you find any sharp or pointy bits sticking out, you’ve got to get rid of them so they don’t poke holes in your new rubber roof.
Applying the Adhesive
Now, it’s time to glue down your EPDM. Spread the adhesive on the roof where the EPDM will go. You don’t want too much glue, just a thin layer. Check the instructions on the adhesive to see how long it needs to dry. Sometimes, you stick the EPDM on while it’s still wet, and other times, you have to wait a bit.
Installing the EPDM Rubber
Next, carefully lay the EPDM sheet on the area you applied the adhesive to. Try not to let it fold or wrinkle. Smooth it out with your hands first, and then use the roller to press it down really well. This helps make sure there are no bubbles and that the EPDM sticks perfectly to the roof.
Cutting and Trimming
There’s a good chance your EPDM sheet is bigger than you need. That’s okay! Just use the utility knife to cut it to fit your roof. Be careful, though. You want a nice, smooth edge and no raggedy bits.
Finishing Touches
Once your EPDM is down and looking good, go over the edges one more time with the roller. Make sure it’s super secure. And that’s pretty much it! You’ve now got a rubber roof that’s going to keep water out and last a long time.
Care and Maintenance
Even though EPDM roofing is really tough, you still need to look after it. A couple of times a year, check your roof for any damage or areas where water might sneak in. And always keep it clean from leaves and other stuff that might fall on it.
Wrap-Up
Installing EPDM rubber roofing might seem like a big job, but with the right preparation and care, you can definitely do it! Just remember to work safely, follow the steps, and take your time. A well-installed rubber roof is a great investment that will protect your home for years to come.