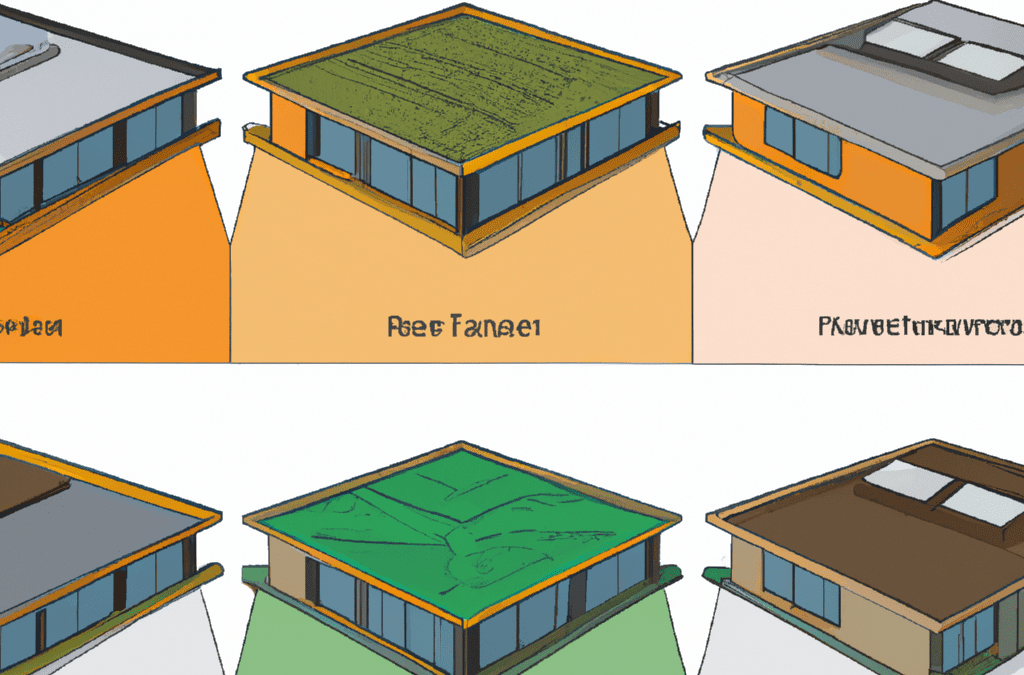
A flat roof is a type of roof that is nearly level or has a very slight pitch. These roofs are commonly found on commercial buildings, modern residential properties, and some historical buildings. Flat roofs have their own unique characteristics and come in different types. Below are some of the most common types of flat roofs:
Built-Up Roof (BUR)
A Built-Up Roof, also known as a BUR roof, is a traditional type of flat roof that consists of multiple layers of waterproof materials. These layers typically include gravel and tar. BUR roofs are known for their durability and longevity, making them a popular choice for commercial buildings.
Modified Bitumen Roof
Modified bitumen roofs are a modern alternative to BUR roofs. They are made from asphalt and a variety of rubber modifiers and solvents. These roofs are easy to install and maintain, making them a cost-effective option for flat roofs.
Single-Ply Membrane Roof
Single-ply membrane roofs are made from a single layer of synthetic material. There are three main types of single-ply membranes: TPO (thermoplastic polyolefin), PVC (polyvinyl chloride), and EPDM (ethylene propylene diene terpolymer). These roofs are lightweight, flexible, and resistant to UV radiation.
Green Roof
A green roof, also known as a living roof, is a flat roof that is partially or completely covered with vegetation and a waterproofing membrane. Green roofs provide insulation, reduce stormwater runoff, and improve air quality. They are a sustainable and eco-friendly option for flat roofs.
Metal Roof
Metal roofs are becoming increasingly popular for flat roofs due to their durability and longevity. They are made from metal panels or shingles and can be made from a variety of metals such as aluminum, steel, or copper. Metal roofs are lightweight, fire-resistant, and recyclable.
When choosing the right type of flat roof for your building, consider factors such as cost, durability, maintenance, and energy efficiency. Each type of flat roof has its own advantages and disadvantages, so it’s important to consult with a roofing professional to determine the best option for your specific needs.
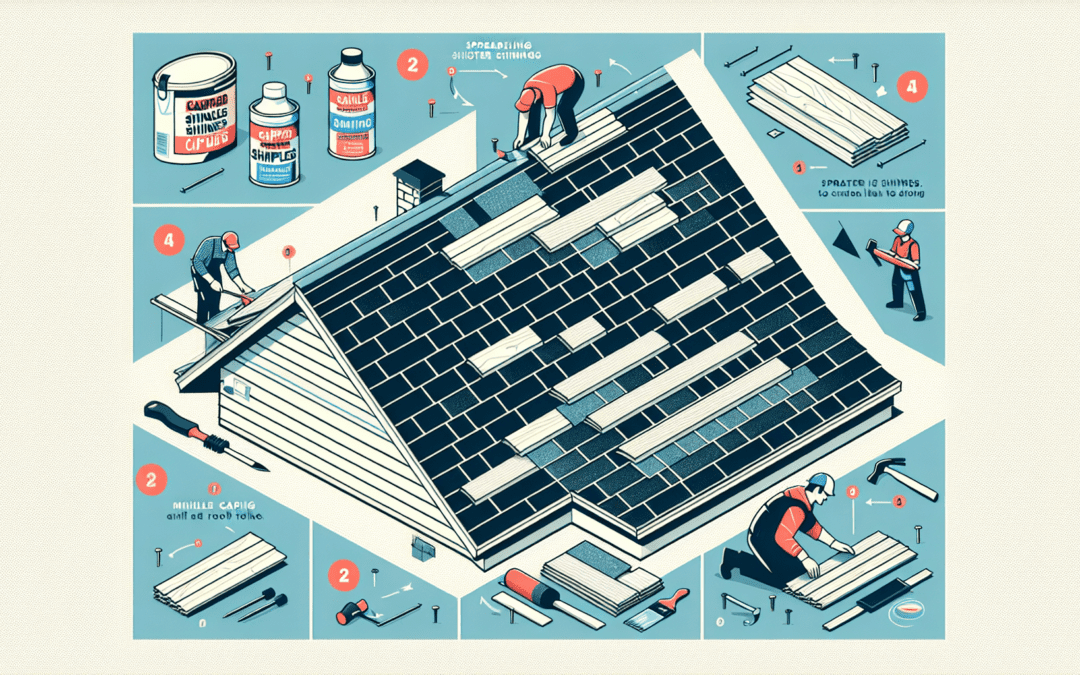
Have you ever looked at the top of a house and noticed a line of shingles running along the peak? That’s called capping. Capping shingles are the last pieces added when roofing, and they protect your house from water and damage. This guide will help you understand what capping shingles are and the basic steps to put them on your roof.
What Are Capping Shingles?
Capping shingles are special shingles used to cover the very top of a roof, where two sides meet. This part is also known as the ridge. Capping shingles are important because they keep water from getting into your house. They’re like the hat of your home, keeping it dry and safe.
What You Need
Before you start, here’s what you’ll need:
Capping shingles (You can sometimes use regular shingles, but there are also special ridge shingles).
Nails (roofing nails are best).
A hammer or nail gun.
A utility knife for cutting shingles to size.
Step-by-Step Guide to Capping Your Roof
Step 1: Prepare the Area
First, make sure the ridge of your roof is ready. If there are old shingles, remove them and clean the area. You want a flat surface for the new shingles.
Step 2: Installing the First Shingle
Begin at one end of the roof ridge. Place the first capping shingle so it overhangs slightly on both sides. Nail it down securely, usually with two nails on each side.
Step 3: Laying the Rest of the Shingles
Take the next shingle and place it on top of the first one so that it covers the nails from the first shingle. Keep going, making sure each new shingle overlaps the previous one. This overlapping pattern helps keep water out.
Step 4: Finishing Up
When you get to the other end of the ridge, you might have to trim the last shingle to fit. Use your utility knife to cut it to the right size, then nail it down like the others.
Extra Tips
Here are some bonus tips to make sure your roof capping goes smoothly:
Always make sure to use enough nails to keep your shingles secure, but not so many that you damage them.
Be very careful on the roof. It can be dangerous, especially if it’s steep. It might be a good idea to have someone help you or even to hire professionals if you’re not comfortable.
Conclusion
Adding capping shingles is an important part of making sure your roof is well-protected. By following these steps, you can help keep your home dry and secure. Remember, if you’re ever unsure, it’s okay to ask for help from someone who knows how to do it.