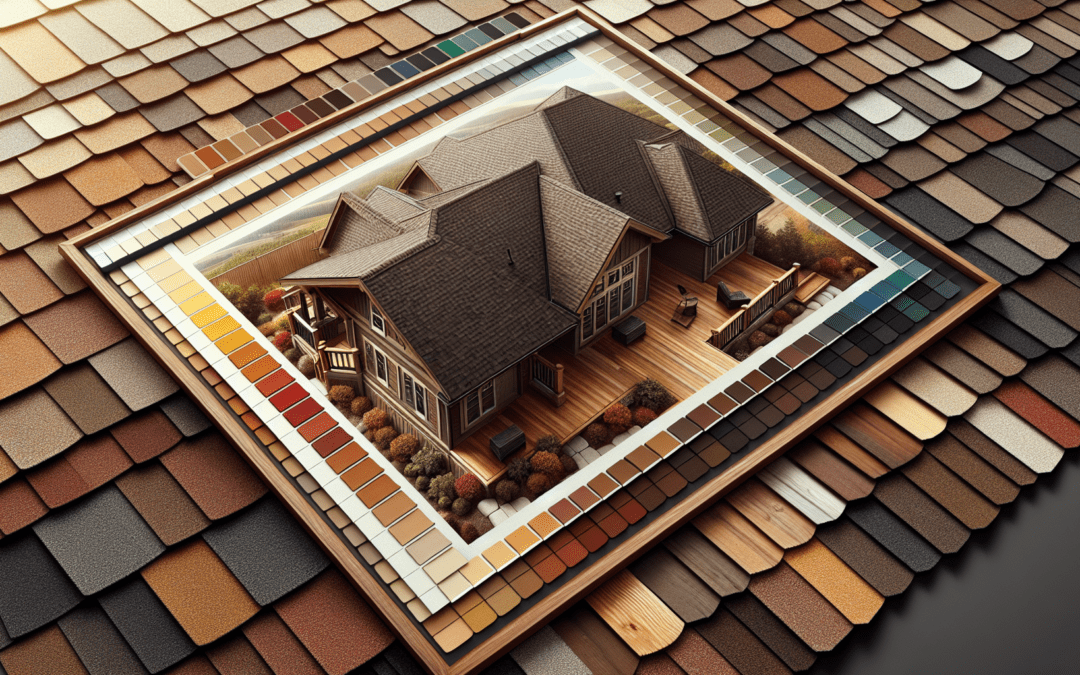
If you’re looking for a way to make your house stand out and protect it at the same time, CertainTeed Driftwood Roof Shingles might be the perfect choice for you. These shingles not only look amazing but also come with a bunch of benefits. Let’s explore everything about CertainTeed’s Driftwood shingles and why they could be the best option for your home.
Why Choose Driftwood Shingles?
Driftwood shingles by CertainTeed have a unique color and texture that resembles real wood. This look can give your home a natural and cozy vibe. But the great things about these shingles don’t stop there. They are designed to be strong against the weather and last a long time. Whether it’s heavy rain, strong winds, or hot sun, Driftwood shingles are made to protect your house in all kinds of weather.
Benefits of CertainTeed Driftwood Shingles
Amazing Appearance
First and foremost, these shingles look incredible. They have a distinct, natural wood look that can make your home look more appealing. This can also add to your home’s value if you ever decide to sell it.
Durable and Strong
CertainTeed’s Driftwood shingles are very strong. They are made to withstand severe weather conditions like heavy storms, snow, and even hail. This means you won’t have to replace your roof as often, saving you time and money in the long run.
Long-Lasting
These shingles are designed to last a long time. CertainTeed offers warranties that guarantee your roof’s durability, giving you peace of mind knowing your roof is protected for many years.
Energy Efficient
Apart from their strength and beauty, CertainTeed Driftwood shingles can also help you save on energy bills. They are designed to reflect sunlight, which helps keep your house cooler during hot months. This means you’ll be using your air conditioning less, which is good for the environment and your wallet.
Installation and Maintenance
When it comes to installing CertainTeed Driftwood shingles, it’s important to have a professional do it. This ensures that the shingles are installed properly and that their warranty remains valid. Once installed, these shingles require very little maintenance. Regular inspections and quick repairs after harsh weather can further extend their life.
Conclusion
In conclusion, CertainTeed Driftwood Roof Shingles offer a combination of beauty, durability, and energy efficiency. Choosing Driftwood shingles means investing in the long-term protection and aesthetic appeal of your home. With their natural wood look, strong build, and energy-saving benefits, Driftwood shingles are an excellent choice for any homeowner looking to improve their home.
Choosing the right colors for your yellow house can make it stand out and look amazing. The shingle color on your roof plays a big role in this. Here are some of the best shingle colors to match with a yellow house:
1. Charcoal Gray
Charcoal gray is a deep, rich color that looks great with yellow. It’s like the color of dark storm clouds, and it can make the yellow color of your house pop. Charcoal gray is a classy choice that adds a modern touch to your home.
2. Brown
Brown shingles can also work well with a yellow house, especially if you’re going for a more natural and earthy feel. Browns can range from light sandy shades to deep chocolate tones. This color can help create a warm and welcoming vibe.
3. Black
Black is a bold choice, but it can be stunning against a yellow house. It creates a strong contrast that is sure to catch the eye. Black shingles can also make your house look more elegant and sophisticated.
4. Slate Gray
Slate gray is a lighter shade than charcoal and can give your house a softer look. It’s still a gray, so it goes well with yellow, but it’s not as intense. Slate gray can make your house feel cozy and inviting.
5. Green
If you’re feeling adventurous, green shingles can be a fun and unique choice for a yellow house. Green can remind people of nature, trees, and grass. It’s a cheerful and refreshing color that can make your house look lively.
Tips for Choosing the Right Shingle Color
When picking a shingle color for your yellow house, consider these tips:
Look at your neighbors: You don’t have to match your neighbors, but it’s good to choose a color that looks nice in your neighborhood.
Think about the light: Colors can look different in the morning than they do in the afternoon. Look at shingle samples at different times of day to see how they change.
Don’t forget about style: Make sure the color you choose goes with the style of your house. For example, if your house has a country feel, a natural brown might be best.
Choosing the right shingle color for your yellow house can really boost its curb appeal. Whether you go with a classic gray, a natural brown, or something more daring like green, the perfect shingle color is out there. Keep these tips in mind, and you’ll find a color that makes your house look its best.
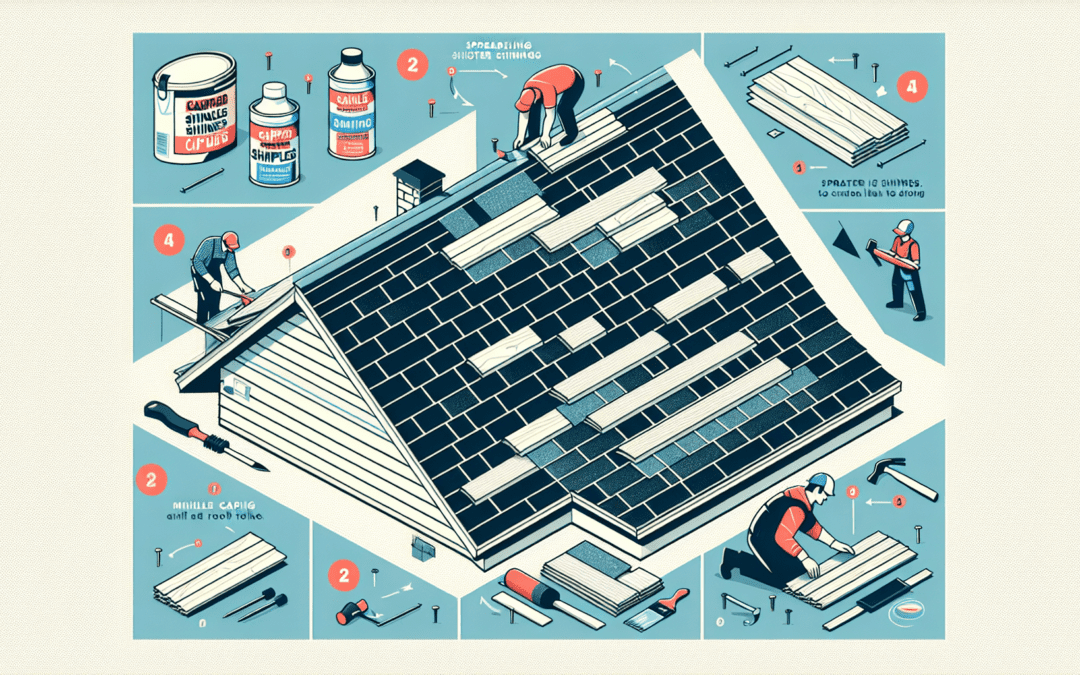
Have you ever looked at the top of a house and noticed a line of shingles running along the peak? That’s called capping. Capping shingles are the last pieces added when roofing, and they protect your house from water and damage. This guide will help you understand what capping shingles are and the basic steps to put them on your roof.
What Are Capping Shingles?
Capping shingles are special shingles used to cover the very top of a roof, where two sides meet. This part is also known as the ridge. Capping shingles are important because they keep water from getting into your house. They’re like the hat of your home, keeping it dry and safe.
What You Need
Before you start, here’s what you’ll need:
Capping shingles (You can sometimes use regular shingles, but there are also special ridge shingles).
Nails (roofing nails are best).
A hammer or nail gun.
A utility knife for cutting shingles to size.
Step-by-Step Guide to Capping Your Roof
Step 1: Prepare the Area
First, make sure the ridge of your roof is ready. If there are old shingles, remove them and clean the area. You want a flat surface for the new shingles.
Step 2: Installing the First Shingle
Begin at one end of the roof ridge. Place the first capping shingle so it overhangs slightly on both sides. Nail it down securely, usually with two nails on each side.
Step 3: Laying the Rest of the Shingles
Take the next shingle and place it on top of the first one so that it covers the nails from the first shingle. Keep going, making sure each new shingle overlaps the previous one. This overlapping pattern helps keep water out.
Step 4: Finishing Up
When you get to the other end of the ridge, you might have to trim the last shingle to fit. Use your utility knife to cut it to the right size, then nail it down like the others.
Extra Tips
Here are some bonus tips to make sure your roof capping goes smoothly:
Always make sure to use enough nails to keep your shingles secure, but not so many that you damage them.
Be very careful on the roof. It can be dangerous, especially if it’s steep. It might be a good idea to have someone help you or even to hire professionals if you’re not comfortable.
Conclusion
Adding capping shingles is an important part of making sure your roof is well-protected. By following these steps, you can help keep your home dry and secure. Remember, if you’re ever unsure, it’s okay to ask for help from someone who knows how to do it.